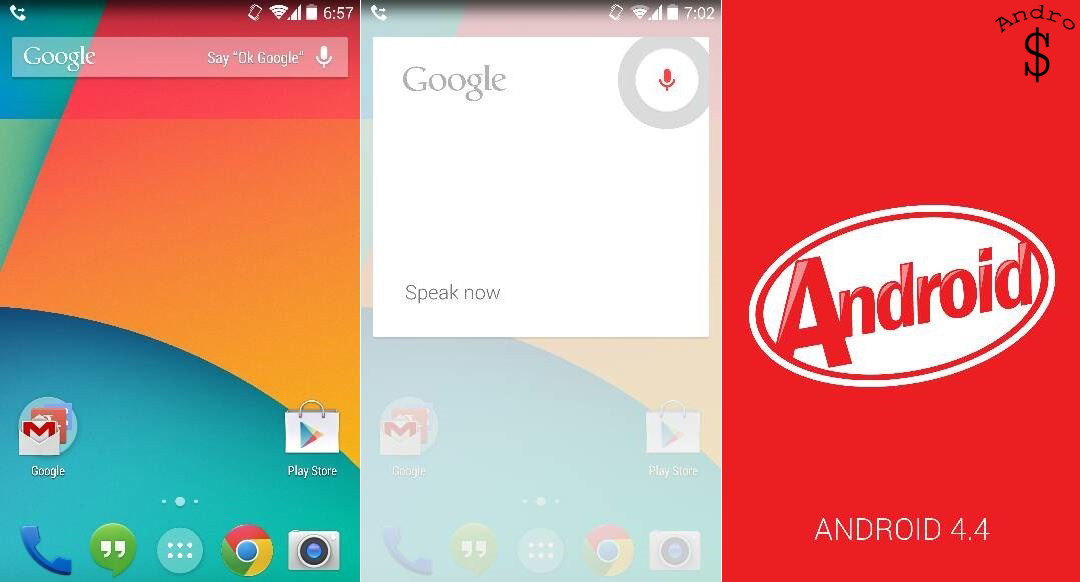
Android 4.4 was released along with the Nexus 5 on the 31st of October and it was released for the Google edition of the Galaxy S4 recently, and now it has been ported over and has been made available for the Galaxy S4 I9505 (aka 4G/Snapdraggon) by XDA Senior Member “jamal2367”
This is a port of Vanilla Android 4.4 KitKat from the Galaxy S4 Google Play Edition (I9505G) and will not contain any Touchwiz functionality. The release is very stable and everything works as expected.
You need to have a rooted device with a custom recovery, either CWM or TWRP. Then you need to download the following files,
- Android 4.4 KitKat Port from the Google Play Edition Galaxy S4 –
- Thread – http://forum.xda-developers.com/showthread.php?t=2544474
- Direct Download Link – https://docs.google.com/file/d/0B4_z3JGCqmK4TWZPOFJMdnhOc2s/edit
- Faux Kernel (To avoid random reboots) – http://www.mediafire.com/download/ybv2xjn1pmfm94m/jgedlte-faux123-GE-KK44-014m_r2.zip
Once you download the files and have a rooted Galaxy S4 I9505 (PLEASE PLEASE DO NOT TRY ON THE I9500 or any other version; Go to settings, About Phone to check your Model Number) you are good to go… Follow the steps given below.
1) First get a Full backup of your phone (This is a MUST because we will be performing a full Data/Factory Reset to install the rom)
2) Then turn off your phone and once it’s completely switched off, Hold UP VOULME + POWER + HOME at the same time until you see Samsung Galaxy S4 on the screen. Then you will be greeted with your custom recovery either CWM or TWRP. If your recovery supports Touch then use that or else uses the Volume buttons for navigation and power button to select.
3) First head down over to “Backup and Restore “and do a Full back up your complete rom just in case. (You can use this to restore back if something goes wrong) After you are done then go back to the main page.
4) Then hit on Wipe Data/Factory Reset, and hit yes followed by Wipe Cache partition, and hit yes and then go to advanced and hit wipe dalvik cache and hit yes. Then go back to the main page.
5) Now select Install zip, and choose Install zip from SD card and navigate and find the files that we downloaded.
6) First we need to install the Rom so click on the Rom file which starts with”i9505 Official Google Edition..” and hit Yes install. This will take a which starts with “jgedite-faux123..” and hit yes install. Then wait for it to complete.
7) Then hit on Go back and hit on Reboot system now and wait for the phone to boot back up. It might take a few minutes to boot up (Don’t panic; just wait a little while it will boot)
8) Once it boots up, fill-in all your personal details and finalize the installation.
9) ‘voila’ You have successfully install Android 4.4 Kitkat on to your Galaxy S4 I9505. Enjoy !
If you guys found this to be helpful, please take a minute to share this with your friends. Also take a good look around our website, you might find some more interesting articles and a lot more articles will be coming soon.
WARNING – Whatever you do with your phone, you do that entirely on your own risk and you have full responsibility for the consequences. The author can’t be responsible for any damages of your phone!